

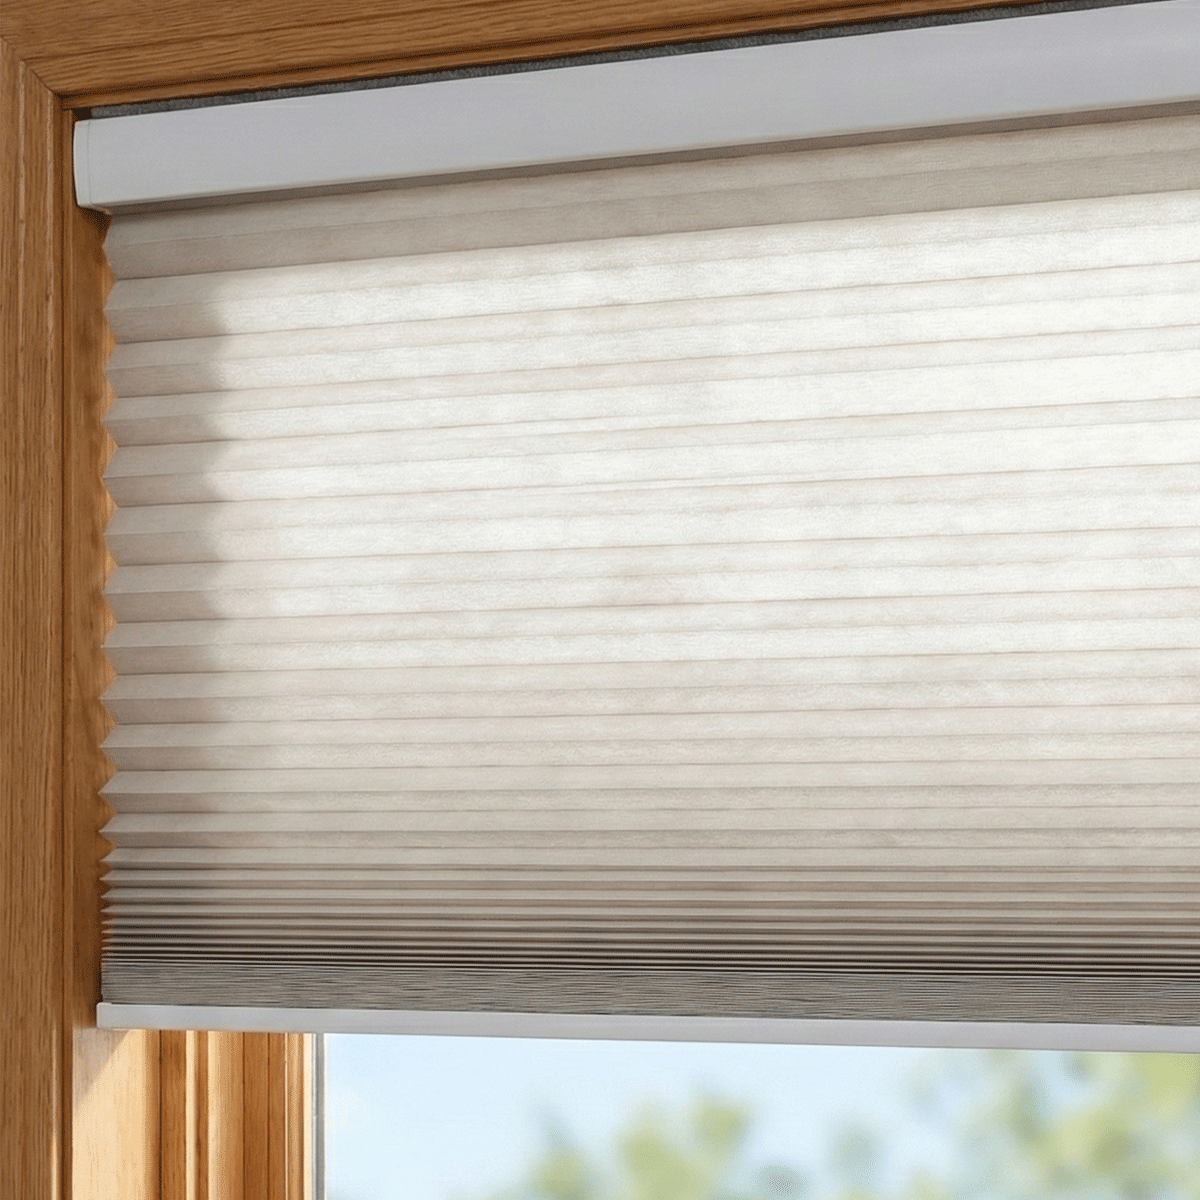


Motorized Blinds Installation: Clear Setup Guide
on May 16 2025
Automating your window coverings turns daily adjustments into an effortless routine. Instead of walking around the house tugging cords or twisting wands, automated shades respond to a wall switch, a voice cue, or an automated schedule. Getting these benefits starts with a solid foundation. Careful planning and accurate measurements ensure your shades operate quietly, glide freely, and integrate smoothly with the rest of your home.
A successful project depends on matching the right hardware to your window frames. Whether you plan to mount a new custom shade, automate a set of soft fabrics, or adapt an existing opening, understanding the mechanics helps you avoid common alignment headaches and achieve clean, long-lasting performance.
Planning Your Motorized Blinds Installation
Before ordering hardware or picking up tools, evaluate the window frame structure and determine how the treatment should hang. The physical casing dictates the brackets you need, while the chosen aesthetic influences whether an inside mount or an outside mount delivers the best coverage.
Inside mounting preserves architectural trim and keeps the shade flush within the window opening. However, it requires sufficient depth so the roller tube, brackets, and motor head do not extend past the frame. If your windows lack adequate depth, or if you want total edge-to-edge light blockage across a bedroom window, an outside mount positioned directly on the wall or casing trim is often the practical solution.
For renters or homeowners looking to preserve delicate woodwork, tension-based systems eliminate the need to drill into window jambs. Exploring options like a no drill motorized shade allows you to install window treatments firmly without putting screw holes into masonry or finished wood frames.
How to Install Motorized Blinds Step by Step
While specific mounting hardware varies by style, the mechanical process follows a dependable sequence. When you install motorized blinds yourself, precision alignment is the most important factor in preventing fabric drift and motor strain.
- Measure and mark bracket locations: Check the window casing for level. Even in modern builds, window frames are rarely perfectly square. Hold your primary mounting brackets in position and mark screw holes with a pencil. Verify that both sides sit level relative to each other so the roller tube hangs straight.
- Secure the mounting hardware: Drill pilot holes into your window frame or drywall anchors. Drive the screws firmly into place, ensuring the brackets sit flat without twisting or flexing under tension.
- Insert the shade assembly: Slide the motor head end and the idler pin into their designated bracket slots. Listen for a distinct click or engage the safety retaining clip to confirm the roller is firmly locked into the brackets.
- Test clearance and mechanical movement: Before programming automations, manually cycle the shade through its basic motions if the system allows, or run an initial calibration pass to confirm the edges do not rub against the jambs.
- Pair remotes and set upper and lower limits: Use the pairing sequence outlined by the manufacturer to define the exact open and closed points. Proper limit settings prevent the shade from rolling too far around the tube or bottoming out on the sill.
If you prefer diffuse light alongside motorized convenience, specialized options like motorized sheer shades balance daytime privacy with filtered daylight. Taking your time during bracket placement prevents delicate sheer fabrics from gathering unevenly across the bottom rail.
Power Options: Battery, Solar, or Hardwired
Choosing how to deliver power affects both setup effort and day-to-day upkeep. Window treatments generally draw electricity in one of three ways:
- Rechargeable battery wands: The most straightforward choice for retrofitting existing homes. Battery packs hide behind the valance or inside the roller tube. When the charge runs low, you simply connect a charging cable or swap the battery stick without touching household wiring.
- Integrated solar trickle chargers: Small, slim solar panels mount against the glass using light adhesive. When paired with windows that receive reliable daily sunlight, they continuously top off battery-operated motorized blinds, cutting down on manual charging routines.
- Hardwired low-voltage connections: Ideal for extensive renovations or new home construction. Running dedicated wiring to each window frame eliminates battery maintenance entirely and guarantees constant power, though it requires access behind drywall or the help of a licensed professional.
Downsides and Practical Trade-offs to Consider
Motorized window treatments offer undeniable convenience, but they come with practical trade-offs. Motor sound is one consideration; while modern DC motors run quietly, they still produce a gentle hum that becomes noticeable in a silent bedroom during early morning routines.
Maintenance schedules also require planning. If you install battery units in rooms with double-height ceilings or high clerestory windows, reaching the charging port requires a tall ladder unless you route an extended charging cable or attach an external solar panel. For traditional window styles or cellular treatments, reviewing a blinds com cellular shade installation a motorized upgrade guide can clarify how profile depth and battery placement interact in compact window jambs.
Finally, connectivity adds another layer of setup. While basic handheld remotes operate immediately out of the box, linking shades to smart hubs, automated schedules, or voice platforms requires stable wireless coverage near the window location.
Fitting Motorized Blinds to Your Living Space
Different rooms present unique operating environments. In a home office or living room where you regularly adjust screen glare, a sleek treatment such as the aventus series motorized roller shades provides clean horizontal lines and dependable daily light control. In contrast, media spaces benefit most from deep outside mounts paired with opaque fabrics that minimize light leaks around the perimeter.
For broader comparisons across different shade formats, checking a blinds com installation an honest guide to motorized setup helps balance the aesthetic benefits of soft fabric styles against the minimalist footprint of modern roller shades.
Frequently Asked Questions
How much does it cost to install motorized blinds?
Costs depend largely on whether you manage the installation yourself or hire a specialist. Doing the project yourself only requires basic household tools. Hiring a professional tradesperson or window treatment specialist adds a labor fee per opening, which increases if the job involves electrical wiring, tall ladders, or masonry drilling.
Can you install motorized blinds yourself?
Yes. Most battery-powered and plug-in models are engineered for straightforward homeowner setup. If you can handle a measuring tape, level, and cordless drill, you can mount brackets and fit the shades securely without specialized trade skills.
What are the downsides of motorized blinds?
The primary downsides are higher upfront equipment costs compared to manual shades, ongoing battery recharging for non-wired units, and potential motor or network troubleshooting if automated routines lose synchronization with smart hubs.
Do you need an outlet for motorized blinds?
No. You only need a standard wall outlet if you select a plug-in power transformer. Battery-operated shades use integrated cells that charge periodically via cable, while solar-assisted shades generate power directly from ambient daylight.