



Fixing Window Shades: Simple Steps and Smart Fixes
on Oct 23 2026
Tackling daily window covering issues often comes down to understanding simple mechanical components. When you find yourself fixing window shades that jam halfway, sag unevenly, or refuse to lock into place, the root cause is usually modest wear and tear rather than total structural failure. Most conventional window shades rely on simple physics, using counterweights, tension coils, or cord guides to manage daily movement. In my own home, I have spent plenty of quiet afternoons adjusting stubborn window coverings only to discover that a five-minute tune-up resolved the issue.
Before you discard a treatment, learning how to fix a broken shade can save you time, reduce waste, and restore smooth privacy control. However, understanding the limits of manual hardware also helps you determine when routine upkeep is no longer practical. This guide breaks down common diagnostic steps for fixing window shades, covering classic roller mechanisms, cordless designs, and cellular varieties, while examining when modern upgrades offer a better long-term alternative.
Fixing Window Shades: Quick Diagnostic Checklist
Before unscrewing any hardware, a structured visual inspection will streamline your work. When fixing window shades, diagnosing the issue while the unit is still hung helps isolate whether the problem stems from the treatment itself, the hardware, or the surrounding frame.
- Check the mounting brackets: Loose or shifted mounting brackets are among the most frequent causes of sticking. If the brackets have pinched inward or loosened over time, the headrail or roller cannot spin freely.
- Inspect the level window frame: An out-of-square casing causes crooked hanging. Confirm that your window trim is plumb, as even a minor tilt prevents the bottom rail from resting evenly.
- Observe fabric alignment: Look at the edges of the roll to see if the material drifts to one side, which points to telescoping fabric rather than an internal gear defect.
- Test mechanical resistance: Gently guide the fabric up and down. If a roller spins without resistance, the spring tension has completely unwound. If it binds stubbornly, debris or an over-tightened ratchet may be at fault.
By assessing these four areas first, fixing window shades becomes a methodical process rather than a guessing game.
How to Fix a Broken Shade That Won't Roll Up or Stay Down
Most classic roller shades and modern cordless shades utilize an internal spring assembly paired with a pawl and ratchet system. When homeowners ask about how to fix a broken shade, the culprit is almost always improper tension or a jammed ratchet lock.
Why won't my window shade roll all the way up?
A shade fails to roll up fully when its internal spring assembly lacks sufficient rotational tension to lift the weight of the fabric. To resolve this problem when fixing window shades, pull the shade halfway down, lift it carefully out of its mounting brackets, and manually roll the material tightly around the tube by hand. Place the rolled tube back into the bracket slots—ensuring the pin end sits securely in its round socket while the flat spear engages the slotted bracket—and test the action. Manually rolling up the shade while dismounted pre-loads the coil, restoring the lift power needed when a shade won't roll up.
What causes a cordless window shade to stop staying down?
A shade refuses to remain drawn when excessive spring recoil overpowers the ratchet or when dust prevents the ratchet mechanism from engaging the locking teeth. If your shade won't stay down, remove the shade from the wall while it is fully rolled up. Carefully unroll the fabric halfway down by hand, then set the flat spear and pin end back into the brackets. By unrolling the fabric manually outside the bracket, you release excess coil force, allowing the pawl to seat properly into the ratchet mechanism without snapping back instantly.
If you discover that repeated adjustments fail to hold tension, you may be dealing with fatigued insights on cord and chain problems, where continuous friction or slipped clutches prevent consistent daily operation. In such cases, fixing window shades by resetting the coil is often only a temporary fix.
How Do I Fix a Window Shade That Rolls Up Crooked?
You can fix an unevenly rolling window shade by leveling the bracket placement and applying masking tape shims to the roller core to correct uneven fabric roll-up. When fabric veers toward one side, creating telescoping fabric that rubs against the bracket edges, the material will eventually fray if left uncorrected.
Understanding how to fix a broken window shade with drift begins with confirming that the roller sits parallel to the sill inside a level window frame. If the frame is slightly uneven, loosen one bracket and place a thin washer or cardboard shim behind it until the roller is perfectly horizontal.
If the brackets are level but the shade still drifts, the problem lies in uneven material thickness along the tube. Unroll the shade fully until the bare core is exposed. Place a small strip of painter's tape along the side opposite the direction of drift. As the shade rolls, that added layer slightly increases the circumference on the low side, naturally pulling the fabric back toward center. Testing fabric alignment after each tape application is a reliable trick when fixing window shades prone to uneven rolling, ensuring the bottom rail stays parallel to the windowsill.
Tackling Cellular Shade String and Lift Problems
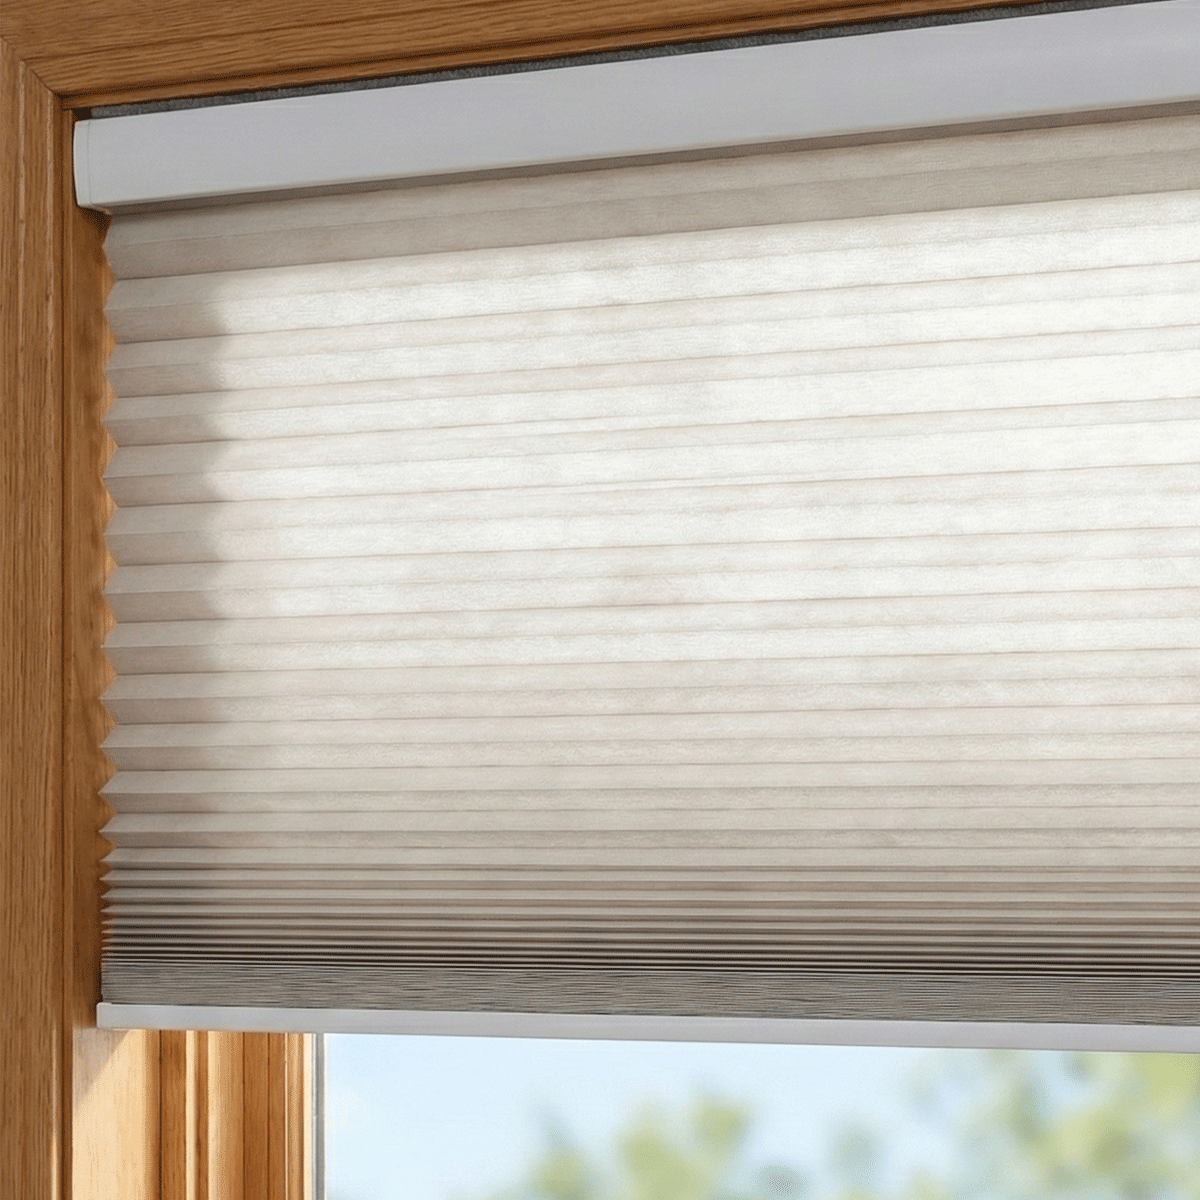
Unlike standard roller shades, pleated and cellular shades use internal lift strings threaded through hollow fabric pockets. When considering how to fix a broken window shade of the honeycomb style, common failures involve snapped strings, binding cord locks, or an unlevel bottom bar.
If your cellular treatment tilts to one side, inspect the underside of the bottom rail. Most units feature small plastic friction plugs that secure the lift cords. Popping these plugs out allows you to adjust string lengths individually until the bottom sits level. If an internal string has snapped entirely, you will need to re-string the unit using a specialized cord needle.
For owners managing snapped internal strings or cracked end caps, consulting a cellular shade replacement parts overview can help identify the exact hardware and cord gauges needed to rebuild the internal lift array. While fixing window shades with honeycomb construction requires patience, keeping the cord paths clean and untangled prevents early cord fraying.
When Fixing Window Shades Isn't Worth the Hassle
While DIY maintenance is cost-effective, continuous repairs yield diminishing returns as hardware reaches the end of its useful lifespan. Before investing hours into fixing window shades, evaluate whether the underlying components are structurally sound or simply worn out.
Common signs that repair is no longer practical include:
- Fatigued internal springs: When the internal springs lose their elasticity or snap inside the roller core, manual winding will no longer hold tension.
- Brittle plastic fittings: Constant exposure to sunlight degrades plastic clutches, loop chain guides, and end plugs, making them crack under moderate force.
- Frayed lift cords: In both cellular treatments and systems using a continuous loop chain, fraying cords create friction points that repeatedly bind.
- Warped roller barrels: Wide manual shades can bow over time, making it nearly impossible to prevent telescoping fabric.
When multiple components degrade simultaneously, reviewing our guide on when to repair or upgrade can help you decide if it is time to move beyond manual fixes. Repeatedly fixing window shades that fail every few weeks often costs more in frustration than replacing them with modern, durable coverings.
When Is It Better to Replace Manual Shades with Smart Shades?
It is better to replace manual window coverings with motorized options when recurring mechanical failures, hard-to-reach window locations, or worn internal tensioners make daily manual operation unreliable. While manual shades rely on springs, cords, and direct physical pulls, modern automated solutions eliminate the primary mechanical failure points that plague traditional coverings.
Switching from manual units to motorized shades transforms everyday light management. Rather than wrestling with uneven spring tension or tangled cords, automated window coverings provide smooth, uniform lifting at the push of a button or via automated schedules.
The Advantages of Smart Motorization
Modern smart motorization relies on an internal tubular motor housed neatly inside the roller tube. This design fundamentally changes how coverings operate:
- Elimination of manual tension: Because a tubular motor controls the speed and rotation of the roll, there are no internal springs to lose tension, slip, or snap.
- Consistent fabric tracking: Motorized systems accelerate and decelerate smoothly, preventing the abrupt jerks that throw off fabric alignment or cause crooked rolling.
- Convenient operation: Control your treatments using a handheld remote control, a smartphone app, or hands-free voice commands.
- Clean aesthetics and enhanced safety: Eliminating the continuous loop chain removes dangling cord hazards while delivering a clean, uncluttered window profile.
- Seamless smart home automation: Integrating your window treatments into smart home automation systems allows shades to adjust automatically throughout the day based on sunlight or routine schedules.
By opting for smart blinds and motorized coverings, homeowners eliminate the cycle of repeatedly fixing window shades. The smooth, measured movement of smart blinds protects the fabric from sudden pulls, ensuring that your coverings remain aligned, functional, and hassle-free for years to come.
Finding the Right Balance for Your Home
Taking the time to diagnose sticking fabric, level brackets, and balance spring tension is an excellent first step when fixing window shades. Simple mechanical maintenance often restores smooth function to basic coverings without requiring new hardware.
However, when aged plastic, worn cords, or broken springs turn maintenance into an ongoing chore, upgrading to durable motorized shades offers a lasting solution. Investing in reliable automation eliminates the frustration of manual breakdowns and brings effortless comfort to every room in your home.
Share