

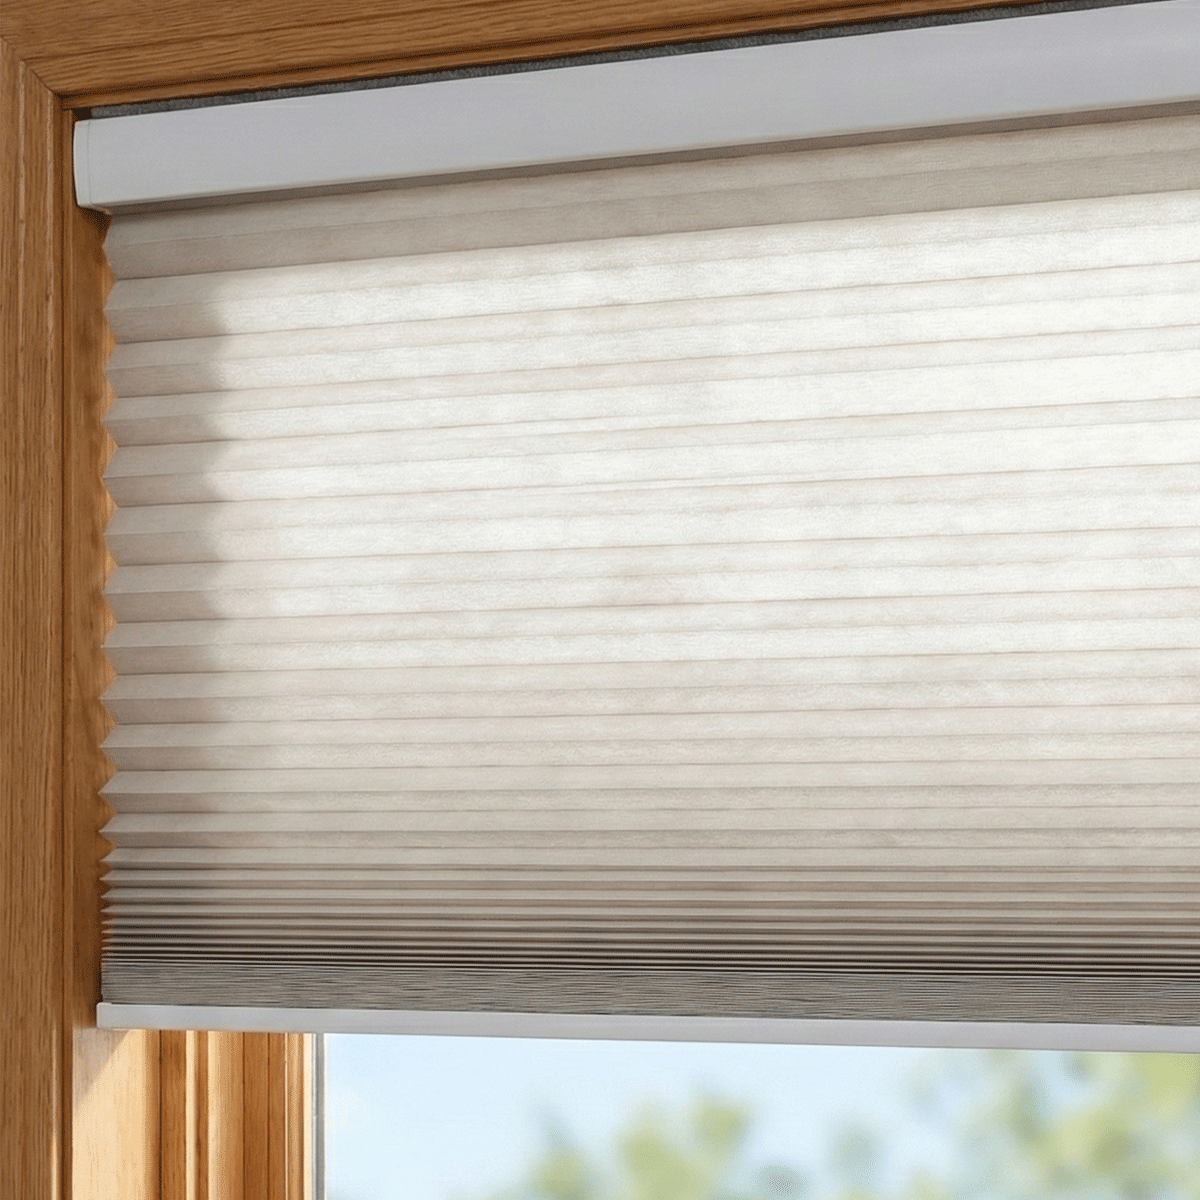


Heavy Duty Semi-Sheer Outdoor Roller Shade Width Guide
on Oct 18 2026
Adding durable screening to a patio or covered porch transforms an exposed space into a comfortable retreat shielded from harsh sunlight. When selecting a heavy duty semi-sheer outdoor roller shade symple stuff width, understanding how dimensions translate from product listings to actual building posts is essential. Exterior installations present unique framing challenges, including uneven wood posts, stone facades, and shifting outdoor conditions that indoor window treatments never encounter.
Choosing the correct width ensures your sheer outdoor roller shade operates smoothly without binding against upright supports or leaving unintended side gaps that allow glare to bypass the screen. Whether planning manual crank control or an automated system, dialing in your widths beforehand protects your investment and ensures lasting outdoor comfort.
Understanding Heavy Duty Semi-Sheer Outdoor Roller Shade Width Options
Exterior shades must endure environmental factors such as wind gusts, humidity, and temperature swings. Because of this, heavy duty models utilize thicker aluminum roller tubes, reinforced idler pins, and sturdy mounting brackets compared to standard indoor blinds. When planning coverage across various post widths, exploring an outdoor shades collection helps identify typical dimension spans and how modular sizes fit together along a patio perimeter.
A semi-sheer outdoor roller shade symple stuff blind generally comes in standard modular spans, while custom fabrications can be cut to fit non-standard porch openings. In wide outdoor openings, builders often have to decide between hanging one expansive continuous shade or dividing the span into two or three adjacent rollers. While a single wide unit offers an uninterrupted view, dividing wide bays into multiple units provides flexible light control and reduces operational load during breezy weather.
Measuring Post and Beam Clearances for Outdoor Roller Shades
Proper measurement for an exterior roller shade begins with a thorough assessment of your structural posts and headers. Outdoor posts made of treated lumber, cedar, or wrapped aluminum can bow or twist slightly over time due to weather exposure.
- Check Level and Plumb: Use a spirit level along vertical posts and horizontal beams. If posts taper inward or flare outward, always record the narrowest span for inside-mount setups.
- Measure at Multiple Heights: Take width measurements at the top header where the roller brackets will sit, across the middle, and at the patio floor where the bottom weight bar will rest.
- Account for Recommended Mounting Depth: Ensure your overhead beam or post face provides sufficient flat surface area for structural screws and mounting bracket feet without splitting the wood near an edge.
If you discover that your structural posts are out of alignment, shims can help level the bracket feet so the roller tube remains parallel to the earth. A level roller tube prevents telescoping, which happens when the fabric winds unevenly to one side and frays against the end brackets.
The Fabric Gap: Overall Width vs. Fabric Roll Width
The most common sizing mistake with exterior roller shades is assuming the listed width equals the width of the screening fabric. In almost every roller mechanism, the total ordered width refers to the tip-to-tip measurement from the outside edge of one mounting bracket to the outside edge of the opposing bracket.
The roller mechanism, clutch, end plug, and bracket hardware require physical space on both ends of the tube. Consequently, the actual screen fabric is narrower than the overall bracket-to-bracket span. When you install a motorized screen shade with balanced openness, understanding this offset ensures daytime views remain clear while accounting for light gaps along posts.
For homeowners aiming to block low-angle afternoon sun or achieve evening privacy on an outdoor patio, this fabric gap must be factored into your layout. If your structural posts are narrow, the fabric gap might leave bright bands of light along the edges unless an outside mounting strategy is used.
Mounting Styles for Semi-Sheer Outdoor Roller Shades
Your chosen mounting style directly determines the exact width measurement you should order:
- Inside Mount (Between Posts): The shade brackets mount directly to the opposing inner faces of two vertical posts or underneath an overhead beam. This produces a clean, recessed appearance that keeps the hardware tucked within the architectural frame. When ordering inside-mount shades, measure the exact opening width and check whether the manufacturer deducts clearance or expects you to provide the finished bracket span.
- Outside Mount (Face of Posts): The brackets mount directly to the front exterior face of the posts or overhead framing. This orientation is ideal when posts are slightly out of plumb, or when you want the fabric panel to overlap the post faces to eliminate side light leakage. For outside mounting, order a total width that extends past the clear opening on both sides to give maximum fabric coverage.
Width Considerations for Motorized and Smart Patio Upgrades
Upgrading to motorized roller shades offers effortless control over patio comfort, letting you raise or lower screening with wall switches, remotes, or smart home schedules. For homeowners seeking hands-free operation across wider patio spans, our guide to motorizing outdoor shades covers how to select motor sizes and adapt heavy duty hardware for smooth automation.
Motorization impacts width planning in a few key ways. First, tubular motors housed inside the roller tube often require dedicated motor-head bracket clearances, which can slightly alter fabric gaps compared to standard manual crank drives. Second, motorized shades across wide widths benefit from side guide cables or track channels that keep the fabric stable during breezy afternoons. Incorporating side cable tensioners requires planning bracket placement carefully so cables run perpendicular from top mount to deck anchor without binding.
Regular maintenance also keeps wide shades operating smoothly. Periodically inspect brackets for tightness and wipe down the semi-sheer fabric using mild soap and water to clear away dust, pollen, and outdoor debris. By taking careful measurements and choosing the right mounting width for your space, your outdoor shades will deliver reliable sun protection and open-air enjoyment for seasons to come.
Share