



Motorized Window Shades DIY Retrofit Guide
The Architecture of a Motorized Window Shades DIY Project
Tackling a motorized window shades DIY project offers an engaging path to home automation, transforming static window coverings into automated shading elements. Successful builds rely on a clear understanding of the mechanical forces and electronic controls that operate behind the fabric.
Core Components: Motors, Tubes, Brackets, and Power Supplies
Every motorized shade assembly centers on four core elements:
- Tubular or Drive Motor: The internal cylindrical drive unit positioned inside a roller tube or an external motor driving a tilt rod or bead chain.
- Tube Profile and Hardware: Rigid aluminum or steel tubing that supports the textile, paired with drive crowns, adapters, and idler end plugs.
- Mounting Brackets: Hardware engineered to secure both the motor head and the idle pin against the window casing or wall studs.
- Power Infrastructure: Either rechargeable DC battery packs, continuous low-voltage wired distribution, or line-voltage mains power.
For fabricators creating custom soft window treatments, consulting a specialized diy smart blinds guide can provide helpful insights into cloth handling and cord management before motorizing the system.
Retrofit Conversions vs. Ground-Up Assembly
Builders generally choose between two project paths: retrofitting an existing manual shade or assembling a brand-new system from bare components. Retrofitting an existing manual roller shade involves pulling out the mechanical chain clutch and sliding a tubular motor into the existing tube. This approach preserves existing mounting locations and textiles. Conversely, ground-up assembly allows you to specify compatible roller tubes, specialized heavy-duty brackets, and balanced fabrics from the beginning, reducing mechanical mismatches.
Evaluating Shade Types for DIY Automation Compatibility
Not every window covering adapts to DIY automation with the same level of ease. Mechanical design dictates whether an install requires a simple drop-in drive or intricate spool management.
Roller Shades: Mechanical Simplicity and Tubular Motor Fit
Roller shades represent the most straightforward category for DIY automation. Because the fabric rolls around a single cylinder, a tubular motor fits directly inside the tube core. Once seated, rotation drives the fabric up or down without intermediate spools or complex cord pathways. The primary mechanical challenge involves matching the motor's exterior drive adapters to the inner grooves of the roller tube.
Cellular Shades: Cord Take-Up Spools and Headrail Clearances
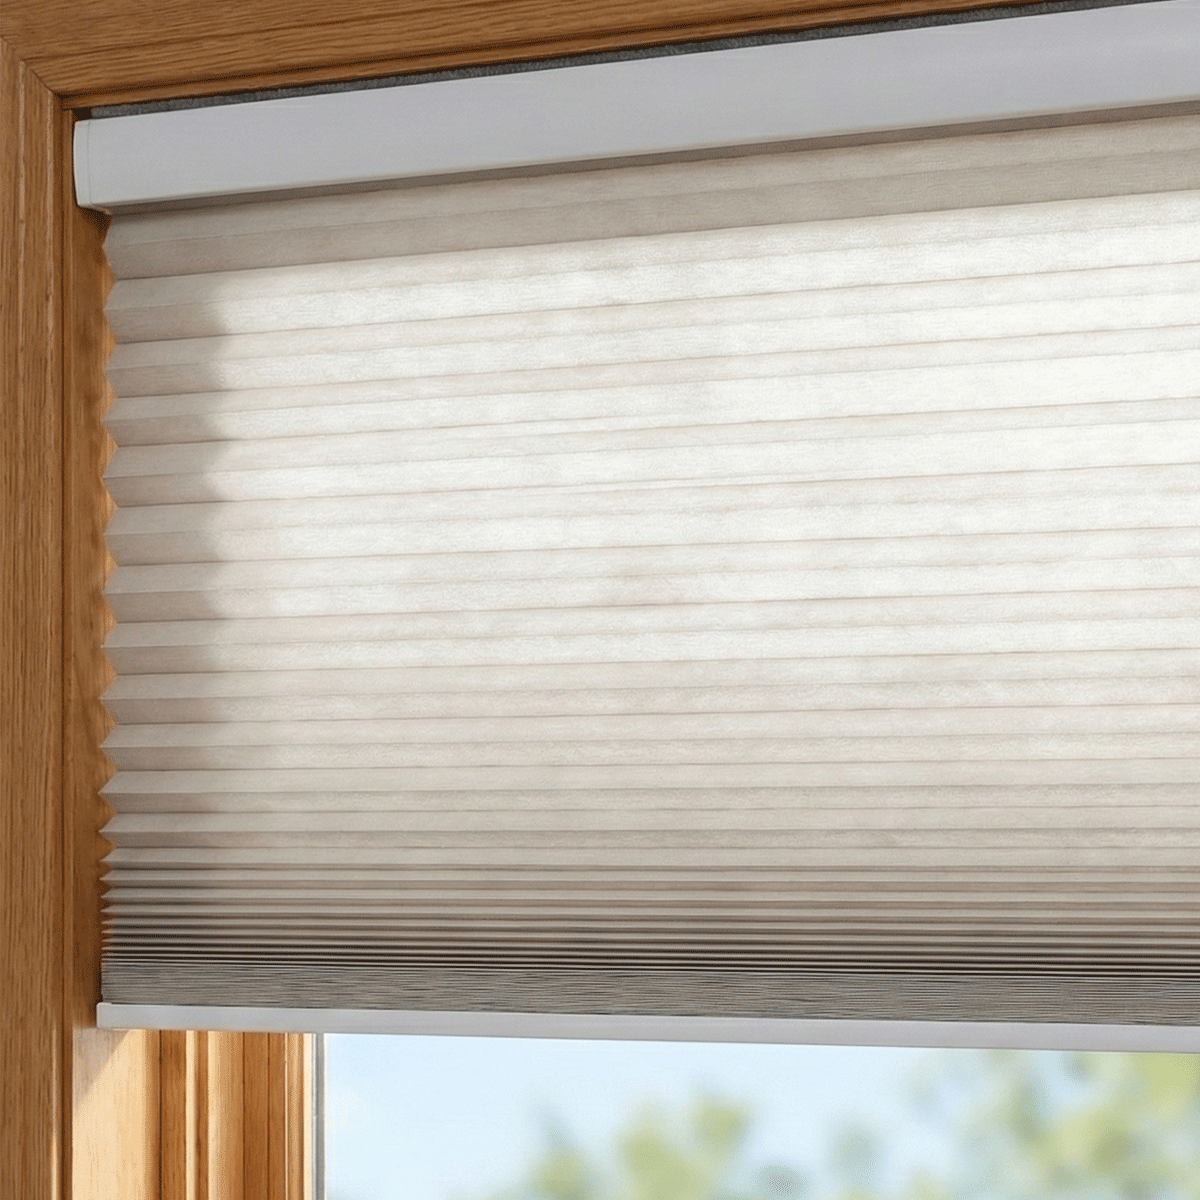
Cellular or honeycomb shades operate using internal lift cords that wind onto individual spools inside a top headrail. Automating these designs requires turning a shared drive shaft that spans the headrail, evenly lifting each cord line. Exploring an engineered cellular shades collection illustrates the compact internal clearances required to balance fabric drop and lift cords inside the headrail casing.
Vertical and Horizontal Blinds: Tilt Automation vs. Full Lift Dynamics
Horizontal Venetian blinds and vertical louvers introduce two distinct motions: tilting the slats and raising or drawing the assembly. Slats require minimal torque to tilt along their central axis, making tilt automation an accessible DIY project. Raising the entire stack of horizontal slats, however, requires significantly higher rotational force and careful cord leveling to avoid uneven lifting.
Sizing Motors and Tube Clearances: Practical Mechanical Rules
Mechanical failures in DIY shades often stem from motor and tube mismatches. Ensuring reliable movement requires careful attention to tube profiles, deflection, and fabric mass.
Matching Tubular Motors to Roller Tube Profiles and Crown Adapters
Tubular motors rely on two interface pieces: the crown, which counts rotations, and the drive wheel, which delivers rotational torque to the tube walls. Roller tubes feature internal ribs or keys that lock into these plastic or rubberized adapters. If the drive wheel slips within the tube profile, the motor cannot track its rotational limits reliably. Verifying that your chosen motor manufacturer offers crown and drive sets shaped to your specific tube interior is essential before assembly.
Fabric Weight, Tube Deflection, and Necessary Rotational Torque
Wider windows present structural challenges. As the span widens, the combined weight of the metal tube, bottom hem bar, and window covering can cause the roller tube to sag in the middle, a phenomenon known as tube deflection. Deflection can cause fabric binding, rippling, and premature motor wear. Thicker tube wall profiles resist bending across wider openings. Additionally, dense blackout textiles require higher starting torque to lift smoothly from a fully lowered position.
Power Architecture: Wire-Free vs. Hardwired DIY Pathways
Selecting how to power your DIY motorized shades influences maintenance schedules, casing aesthetics, and electrical rough-ins.
Rechargeable Internal Lithium Packs and Solar Maintenance Panels
Wire-free tubular motors house rechargeable lithium-ion battery cells inside the motor sleeve. These units simplify installation because they require no electrical conduit or wall cutting. When charging is needed, users connect a magnetic charging cable or attach small photovoltaic solar panels to the interior window frame to sustain charge levels through ambient light.
Low-Voltage Hardwired Runs and Concealed Power Distribution
For whole-home installations, running low-voltage wiring to a central distribution panel avoids battery maintenance entirely. Builders often run multiconductor wiring behind baseboards, through window jambs, or inside drywall cavities during renovations. This setup provides consistent power directly to each motor, creating a clean look free of external power wands.
Control Protocols: Bridging RF, Zigbee, Z-Wave, and Matter
A motorized shade needs a reliable communication protocol to respond to wall remotes, mobile devices, and automated schedules.
Proprietary 433MHz RF Remotes and Smart Hub Bridges
Many affordable DIY tubular motors operate on proprietary radio frequency (RF) channels, typically around 433MHz. These motors pair directly with handheld remotes and can be controlled without a home network. To enable app or voice control, DIYers integrate an RF-to-Wi-Fi hub or bridge that translates smart home commands into RF signals.
Mesh Protocols and Direct Smart Home Platform Integration
For native local smart home setups, motors supporting Zigbee, Z-Wave, or Thread with Matter connect directly to compatible hubs. These mesh protocols allow bidirectional communication, enabling the motor to report its exact position percentage, battery health, and travel state back to the home controller without depending on external cloud bridges.
Step-by-Step Roller Shade DIY Retrofit Execution
Converting a manual bead-chain roller shade into a motorized system follows a clear, step-by-step mechanical progression.
Disassembly and Clutch Removal
Begin by fully raising the manual shade and releasing it from its existing mounting brackets. Place the assembly onto a clean, flat work surface. Firmly pull the manual chain clutch assembly out of the tube end. In most shades, the clutch is friction-fit into the roller tube. Inspect the tube interior to check for internal ridges and clear away any plastic debris.
Motor Insertion, Crown Engagement, and Bracket Seating
Slide the crown adapter and the drive wheel onto the tubular motor shaft, ensuring the crown clicks into its sensor notch. Align the drive wheel notches with the internal ribs of the roller tube, then slide the motor assembly into the tube until the motor head rests flush against the tube rim. Replace the old mounting brackets with the motor-specific bracket set, and mount the roller assembly back onto the window casing.
Setting Upper and Lower Limits and Calibration
Once the shade is securely mounted and powered, define the mechanical travel limits using the motor pairing remote or physical programming buttons. Set the top limit so the bottom rail parks just below the roller tube without jamming against the brackets. Then, jog the shade down to the window sill to establish the lower stopping point. Setting accurate limits protects the fabric and motor gears from over-rotation.
DIY Trade-Offs: When Retrofitting Makes Sense vs. Purpose-Built Motorized Shades
Taking the DIY route offers a hands-on learning experience and allows you to tailor component choices to your budget. However, retrofitting manual shades involves practical trade-offs. Variations in tube thickness, uneven fabric tracking, and motor sound levels can require ongoing adjustments.
In high-use living spaces or very wide spans where fabric alignment and minimal sound are priorities, evaluating a factory-engineered motorized roller shades product can save substantial troubleshooting time. Pre-assembled systems feature factory-calibrated tubes, matched motor dampeners, and precision-cut fabrics that run square out of the box. For individual hobby projects or secondary rooms, however, building a DIY motorized window shade remains a rewarding way to master home automation mechanics.
Share