

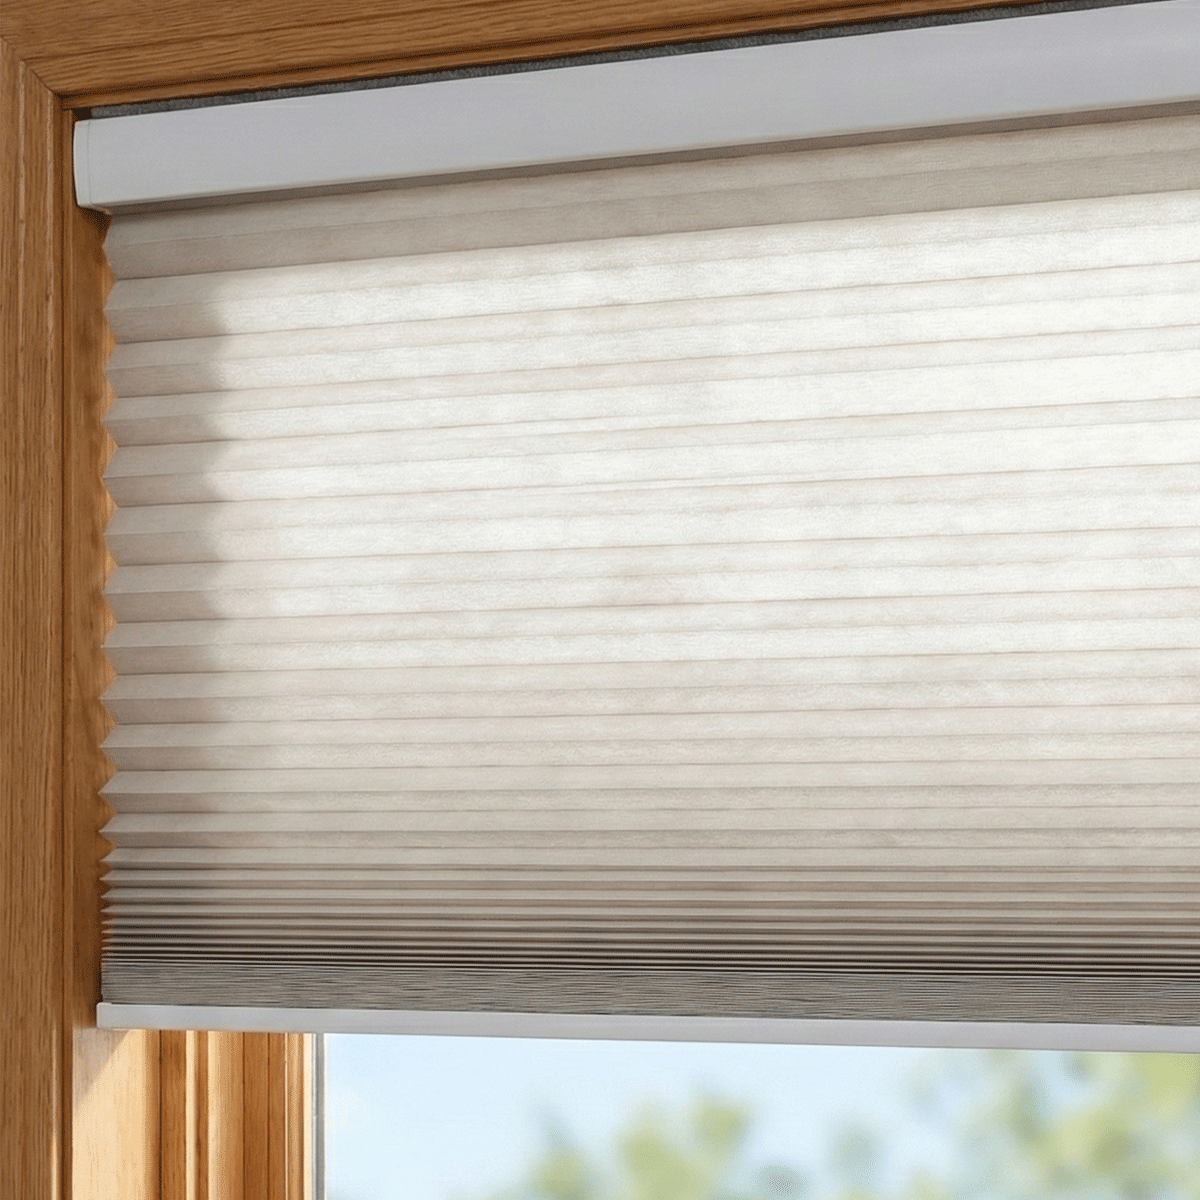


Pop-In Blinds: Easy Fit and Smart Automation
on Oct 23 2026
Installing window treatments once meant pulling out power tools, measuring bracket screw holes, and risking permanent marks on drywall or woodwork. For modern spaces, pop-in blinds offer a tool-free alternative that stays securely in place using outward lateral pressure. These treatments deliver a clean look while keeping installations completely renter friendly and reversible. Whether you live in a rented apartment or simply want to avoid punching holes in pristine millwork, understanding how pop-in blinds function helps you select the right window coverings for your space.
As window treatment engineering evolves, no-drill blinds have grown beyond basic temporary paper shades. Today, durable pop-in window blinds incorporate sophisticated headrail hardware, clean cordless operation, and even automated shades technology. In this guide, we explore the mechanical concepts behind tension mounting, evaluate structural window frame requirements, outline proper fitting steps, and examine how smart blinds motorization works within a tension-secured frame.
What Are Pop-In Blinds and How Do They Work?
Pop-in blinds stay in place by applying constant outward lateral pressure against the interior sides of a window frame, bypassing conventional mounting screws entirely. Instead of hanging from brackets drilled into the top or sides of the window casing, these systems house an internal compression mechanism inside the headrail. When engaged, end caps or rubberized foot pads expand outward, creating a firm friction hold against the opposing jambs.
The engineering generally relies on one of two formats: a spring loaded internal core or an adjustable cam-lock lever. A spring loaded setup provides immediate continuous pressure when inserted into the opening. A cam-lock or mechanical screw-drive system allows the installer to position the headrail loosely and then turn an adjustment dial or flip an integrated lever to expand the assembly outward until it achieves a solid tension mount. This makes pop-in blinds particularly attractive for homeowners who want clean trim lines and for renters seeking renter friendly solutions that leave zero holes behind upon move-out.
Because these shades rely on friction and lateral force, they are designed primarily as an inside mount solution. Both lightweight cellular shades and tailored roller shades adapt well to this mechanism, providing light control, thermal efficiency, and sleek cordless operation without the hassle of traditional hardware installation.
Window Frame Requirements for Pop-In Window Blinds
While pop-in blinds remove the need for drills, they do require specific structural conditions within your window opening to remain stable over long periods.
Casing Depth and Surface Textures
To support a tension-held headrail, your opening must meet an adequate depth requirement. The headrail mechanism, roller tube, and internal components need a continuous, flat mounting surface along both sides of the frame. If the frame is too shallow, the expansion pads may overhang the trim, significantly reducing the surface area providing friction and potentially causing the shade to slip downward over time.
The composition of the window casing also impacts stability. Smooth, solid surfaces such as painted wood, sturdy aluminum, and rigid vinyl provide an ideal mounting surface for pop-in blinds. Highly textured drywall, soft trim, or peeling paint can compromise the grip. If you are assessing narrower or specialty openings, reviewing our window blinds guide can help you evaluate depth planning and headrail sizing before making a purchase.
Checking for Squareness and Alignment
For pop-in window blinds to seat firmly, the window frame needs to be square and parallel. Variations in width from the top of the casing down to the window sill can alter how tension is distributed. If the opening tapers outward near the top, the compression mechanism might not exert even lateral force across both contact points, increasing the likelihood of slipping.
Before ordering pop-in blinds, measure the width at the exact spot where the headrail will sit, as well as the middle and bottom near the window sill. This step ensures the tension mount will make uniform contact with both sides of the window casing, reducing unexpected light gaps and keeping the blind level during everyday use.
Step-by-Step Installation and Tension Adjustment
Installing pop-in blinds is straightforward, but careful alignment is essential for smooth daily operation and a dependable hold. For a detailed walkthrough of specific mounting techniques, consult our comprehensive pop window blinds guide.
- Step 1: Clean the Contact Surfaces. Dust, grease, or residue can reduce friction. Wipe down the upper sides of the window casing where the pads will rest and let the surface dry completely.
- Step 2: Check Headrail Level. Hold the headrail in position inside mount style. Place a small spirit level across the top or bottom of the housing to verify that the unit is not tilted. An uneven headrail causes the fabric to telescope or roll unevenly.
- Step 3: Engage the Compression Mechanism. Depending on the shade model, push the spring loaded end inward to seat the headrail, or turn the adjustment dial until the foot pads make solid contact with the casing.
- Step 4: Lock the Tension Lever. Many modern pop-in blinds feature a cam-lock lever that completes the final expansion. Firmly flip the locking lever until it snaps into place, applying full lateral pressure across the mounting surface.
- Step 5: Test Stability and Alignment. Gently grasp the headrail with both hands and apply mild downward pressure to ensure it does not shift. Check the fabric edges to confirm balanced light gaps along both vertical sides.
Can You Automate Pop-In Blinds?
Yes, pop-in window blinds can be motorized and controlled via remote control, smartphone applications, and home automation systems. The primary consideration when adding motorization to tension-mounted shades is weight management and mechanical balance. Because the headrail relies entirely on lateral friction rather than structural screws, motorized pop-in blinds require efficient, lightweight components that operate smoothly without jarring the mounting assembly loose.
Modern motorized shades integrate compact motors directly inside the roller tube or cellular headrail. These assemblies minimize operating vibration, allowing automated shades to move up and down quietly while preserving the integrity of the tension mount. To learn how renters successfully install automated treatments in drill-restricted properties, explore our pop blinds guide.
Power Options: Rechargeable Motors vs External Packs
When selecting motorized pop-in blinds, motor weight and cable placement are critical. A sleek tubular motor fitted with an integrated rechargeable battery is typically the best match for pop-in blinds. An internal rechargeable battery eliminates dangling cords and heavy external battery wands that could pull unevenly on the tension mechanism.
Recharging is generally handled via a discrete magnetic or USB charging cable connected directly to the motor end cap, meaning you do not need to remove the shade from the window casing just to replenish the battery. This setup keeps the headrail lightweight and balanced, ensuring consistent compression against the casing.
Smart Controls and Everyday Automation
Once your motorized shades are installed, managing them fits seamlessly into modern smart living. Motorized pop-in blinds can be operated using a handheld remote control for quick manual adjustments, or integrated with a central hub to unlock complete smart home integration.
With app control, you can create daily routines that raise your cellular shades at sunrise and close your roller shades during the hottest hours of the afternoon to manage indoor temperatures. Pairing your hub with a voice assistant adds hands-free voice control, allowing you to adjust individual shades or entire rooms with simple spoken commands. This level of smart blinds automation brings modern luxury to rental units and historic homes without altering a single piece of original woodwork.
Realistic Trade-Offs and When to Choose Traditional Brackets
While pop-in blinds provide outstanding convenience and protect your walls, they are not universal solutions for every window scenario. Understanding their limitations ensures you select the best hardware for your space.
- Width and Weight Limits: Because pop-in blinds depend on friction, very wide or tall windows may prove too heavy for a pure tension mount. Oversized roller shades or thick drapery fabrics exert substantial downward torque, which can exceed the holding capacity of compression mechanisms. In such cases, traditional screwed brackets offer superior structural peace of mind.
- Frame Depth Restrictions: If your window frames lack sufficient inside mount depth, pop-in window blinds cannot seat properly. An outside mount using traditional wall brackets is necessary when casing depth is shallow or obstructed by window cranks and handles.
- Material Flexibility: Tension hardware exerts lateral force against opposing walls. While sturdy wooden and aluminum frames easily tolerate this pressure, flexible vinyl or hollow drywall openings without solid studs behind them could bow outward slightly, reducing the tension hold over time.
For standard-sized windows, however, well-engineered pop-in blinds paired with a compact tubular motor and internal rechargeable battery offer a reliable, stylish, and damage-free way to enjoy automated light control in any room.
Share