



Repairing Window Shades: Fixes and Smart Upgrades
on Oct 20 2026
Anatomy of Window Shade Failures: Mechanical Root Causes
Window coverings experience continuous physical stress through daily cycles of raising, lowering, and tilting. When repairing window shades becomes necessary, identifying the underlying mechanical fault prevents repeated component breakdowns. Most legacy manual treatments rely on balanced mechanical counterweights, tension springs, or friction clutches to control fabric movement.
Roller assemblies commonly suffer from internal spring fatigue or pawl slippage. When an internal spring loses its preset tension, the fabric will hang loosely or refuse to retract toward the headrail. Conversely, a jammed ratchet mechanism locks the assembly in place, preventing smooth travel down the window opening. In continuous cord-loop or beaded chain systems, clutch gears degrade through friction wear, causing the shade to slip downward under its own weight.
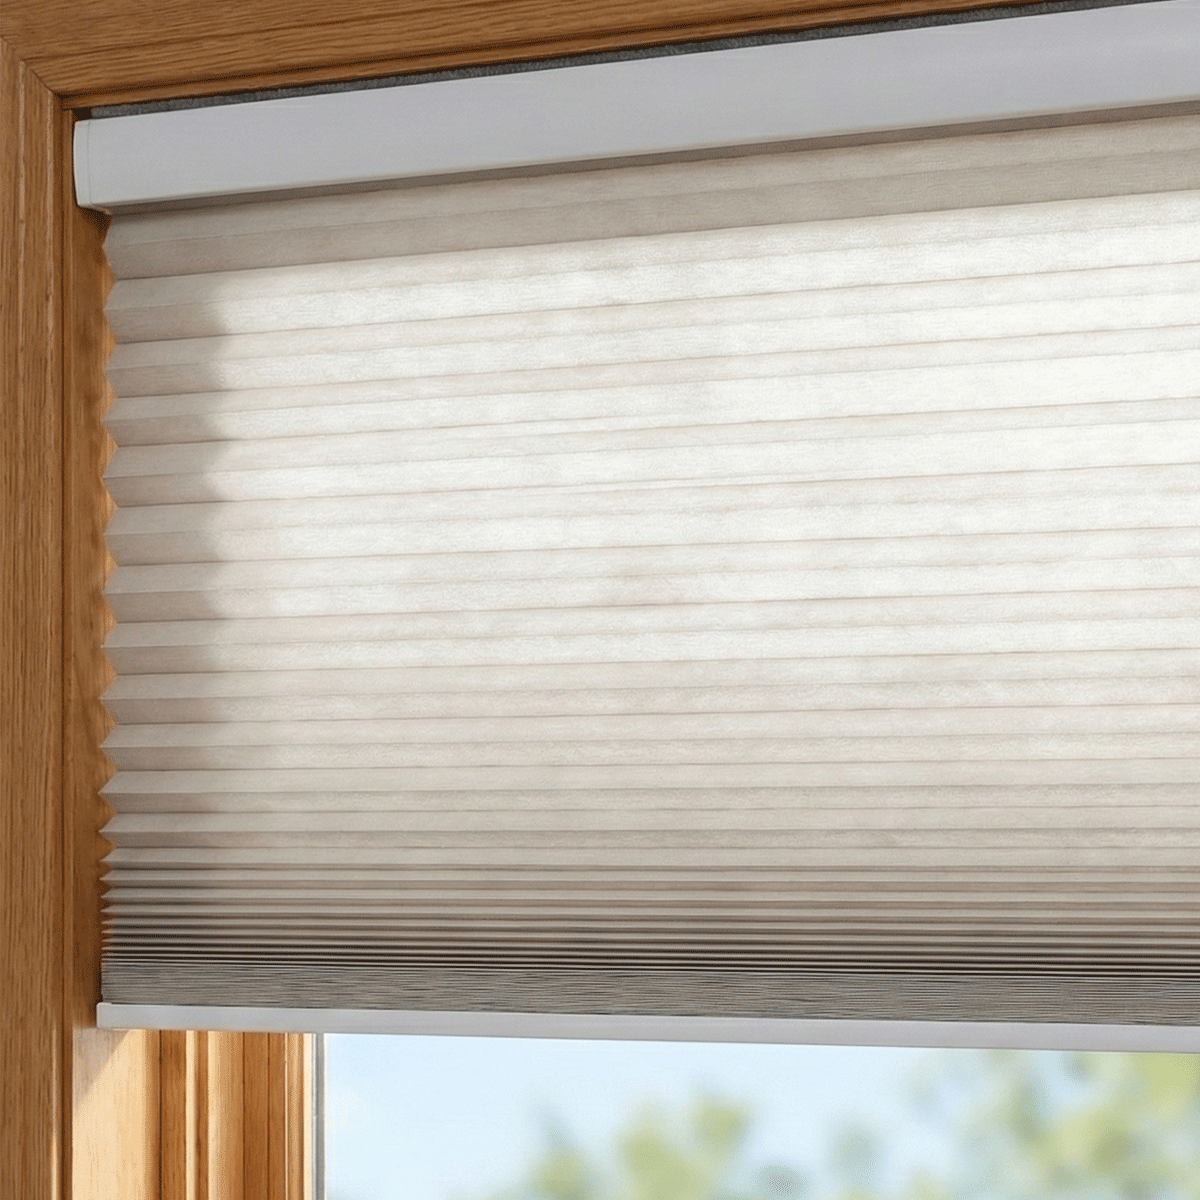
Cord-and-pulley assemblies used in cellular, pleated, or roman designs depend on fine braided lift strings traversing small guide eyelets. Over prolonged use, friction against metal or plastic edges can abrade individual cord strands, culminating in sudden snapping or uneven lift lines. Recognizing whether a failure stems from internal tension loss, broken drive lines, or compromised structural anchoring determines the most effective repair path.
Diagnostic Decision Framework: Repair, Professional Service, or Retrofit?
Before disassembling a treatment, evaluate the assembly against a practical decision framework. Not every mechanical failure warrants manual rebuilding, especially when replacement parts are obsolete or labor exceeds the value of the fixture.
- Fabric and Slats Condition: If the textile, woven wood, or cellular structure remains intact without significant creasing, tearing, or sun degradation, repairing or upgrading the underlying drive mechanism preserves your initial investment.
- Component Availability: Standard roller pins, idle end plugs, and universal chain retainers are readily sourced. Proprietary internal clutches or custom cord drums from discontinued models often cannot be replaced without custom fabrication.
- Frequency of Failure: When a shade repeatedly breaks lift strings or drops tension despite recalibration, the assembly has likely developed internal guide friction or tube deflection that simple part swaps cannot solve.
For recurring mechanical breakdowns, homeowners frequently weigh the labor of repeated restringing against modernizing the installation entirely. When manual components repeatedly wear out, reviewing an overarching window blinds shades guide can help clarify the tipping point between manual repairs and an automated upgrade.
Tackling Common Manual Hardware Failures
Roller Mechanism and Spring Tension Recalibration
Traditional spring-roller shades operate with a coiled internal spring attached to a flat spear on one end and a circular pin on the other. A small internal ratchet and pawl assembly catches the roller to maintain the selected height. When the shade fails to stay up or rolls up too weakly, the internal spring requires mechanical retensioning.
To retension a sluggish roller, pull the shade halfway down, lift it carefully from its mounting brackets, and roll the exposed fabric back onto the tube by hand. Reseat the flat pin securely into its bracket slot and pull down again. This manual winding increases the baseline spring tension. If the roller snaps upward violently, the spring is over-tensioned; remove the tube while fully retracted and unroll the fabric halfway by hand before reinstalling.
Continuous Cord Loops, Friction Clutches, and Lift String Rerouting
Continuous loop clutches utilize an internal wrap spring that grips an arbor when stationary and loosens when the chain rotates the drive wheel. Slipping clutches typically mean the internal spring or outer gear casing has worn down, preventing firm retention under the fabric's gravitational pull.
When restringing cord-operated shades, inspect the cord-lock mechanism at the headrail opening. A common issue is a stuck brass roller that fails to slide along its track to pinch the lift cord. Light cleaning to remove household dust or fibers often frees the pawl. If lift cords are frayed, replace all cords simultaneously with matching gauge string to ensure the bottom rail raises evenly across the entire sill.
Mounting Bracket Fatigue, Casing Out-of-Square, and Tube Deflection
Operational resistance often originates outside the shade assembly itself. If window jambs settle or mounting screws loosen in drywall, the headrail can bow or twist. This misalignment causes roller tubes to bind against bracket flanges or forces fabric to telescope sideways, fraying against the frame.
Verify with a carpenter's level that both brackets share an identical horizontal plane. For wide shades, an unfastened or missing center support bracket allows the roller tube or headrail to sag in the middle, creating uneven drive friction. Ensuring a solid mount into framing studs or using appropriate structural anchors resolves many mysterious binding issues.
The Modern Alternative: Converting Broken Hardware into Smart Motorization
Rather than continually fixing fragile manual drive components, converting an existing treatment into a motorized system eliminates failure-prone cords, springs, and chain clutches entirely. In this conversion, the manual drive plug is removed from the headrail or roller tube and replaced with an integrated tubular motor.
Tubular motors seat directly inside standard roller profiles, applying direct radial drive to the tube without external pull friction. Homeowners seeking to modernize existing fixtures can follow a detailed window blinds shades guide to learn how to clear out legacy manual gears cleanly. For standard retail window treatments with failing spring drives, a streamlined window shades blinds guide outlines fast conversion techniques using tubular retrofit inserts.
When configuring an automated upgrade, balance power requirements and mechanical fit:
- Internal Tube Profile: Ensure the motor crown and drive adapters match the internal diameter and inner rib geometry of your existing tube.
- Power Delivery: Evaluate options between rechargeable internal battery motors, which preserve clean aesthetics without wiring, and low-voltage wired connections for hard-to-reach clerestory windows.
- System Setup: Following hardware installation, electronic travel limits must be set so the motor stops precisely at the sill and upper headrail without straining the fabric.
If you encounter technical glitches or unresponsive control signals after an upgrade, reviewing a specialized shade repairs blinds guide provides reliable troubleshooting steps for motor pairing, remote syncing, and travel recalibration.
Window Architecture and Operational Compatibility
Structural architectural traits dictate the ideal repair or upgrade methodology. Shallow window casings offer minimal depth, requiring precise bracket alignment to prevent fabrics from rubbing against glazing beads or window cranks. In deep casings, there is ample clearance for larger tubular motor heads or robust universal brackets.
Wide architectural openings, such as multi-panel sliding doors or bay windows, present high torque demands. Manual spring mechanisms across broad spans frequently fail due to the heavy fabric weight. Converting wide spans to motorized operation redistributes mechanical stress smoothly along the drive tube, avoiding the localized tension that frequently breaks manual lift cords.
Long-Term Maintenance and Prevention Protocols
Consistent preventative care preserves both manual hardware and automated assemblies. Clean dust and airborne particulates from headrail tracks and clutches periodically using low-pressure air or a soft brush. Avoid using wet, oil-based lubricants on plastic gears or cord paths, as oil attracts grime that accelerates abrasive mechanical wear.
For motorized retrofits, periodic inspection of mounting brackets ensures motor torque has not loosened mounting fasteners over time. Maintaining level alignment and clean operating clearances will keep window treatments running quietly and reliably for years to come.
Share