



Home
-
Weffort Motorized Shades Daily News
-
Easy Installation Blinds Architecture: Mounting Mechanics, Modular Cassettes, and Smart Motor Integration

Easy Installation Blinds Architecture: Mounting Mechanics, Modular Cassettes, and Smart Motor Integration
on Oct 15 2026
The Mechanical Foundations of Easy Installation Blinds
Window coverings have traditionally presented a mechanical challenge for homeowners and interior installers alike. Conventional setups demand precise pilot holes, heavy anchors, level lines across uneven trim, and multiple fastener brackets per window. In contrast, modern easy installation blinds rely on modular architecture, pre-aligned cassettes, and tool-free or low-fastener engagement mechanisms designed to reduce human error during setup.
The engineering shift focuses on headrail rigidity. Traditional blinds disperse physical stresses across separately drilled brackets. If one bracket sits slightly misaligned, the barrel or tilt rod binds, producing friction and early operational wear. Modern easy blinds for windows integrate the primary mechanical track within a single aluminum or reinforced polymer headrail. This continuous structural spine maintains internal component alignment regardless of minor inconsistencies along the window frame.
Hardware systems generally fall into three structural categories: lateral tension-fit mechanisms, pre-aligned clip cassettes, and low-fastener quick-snap brackets. Each variation shifts the physical mounting burden away from multiple loose anchors toward controlled mechanical compression or positive-latch bracket geometry.
Comparing Mounting Mechanics: No-Drill Pressure Fit vs. Quick-Snap Brackets
Selecting the appropriate hardware profile requires balancing ease of attachment against structural stability. Tension-fit systems represent the most accessible zero-drill option, whereas quick-snap brackets provide a compromise between rapid mounting and mechanical anchoring.
- Tension-Fit Compression: These systems utilize internal threaded rods or cam-action springs that expand outward against the vertical window jambs. Rubberized friction pads distribute clamping force evenly against the trim, preventing surface slippage without penetrating the drywall or wood casing.
- Quick-Snap Spring Brackets: When minimal drilling is acceptable, snap-in systems use two compact clip brackets fastened with single screws. The installer aligns the clips, and the headrail hooks onto a front lip before rotating backward until an audible snap confirms retention.
- Adhesive-Assisted Channel Tracks: Some lightweight designs combine narrow perimeter adhesive tracks with top-rail brackets to maintain lateral stability without frame perforation.
Tension-only systems depend entirely on friction and surface integrity. Smooth painted drywall, slick gloss enamels, or slightly bowed jambs can reduce grip stability over time. Conversely, snap-in brackets engage with structural studs or window casing timber, offering higher load-bearing capacity while still allowing the blind cassette to be attached or removed in seconds.
Identifying the Easiest Blinds to Install Across Different Window Types
Fabric weight, internal mechanism mass, and casing depth dictate how effectively a window covering adapts to rapid-installation hardware. Certain blind profiles naturally lend themselves to low-friction installation due to their balanced center of gravity and lightweight architecture.
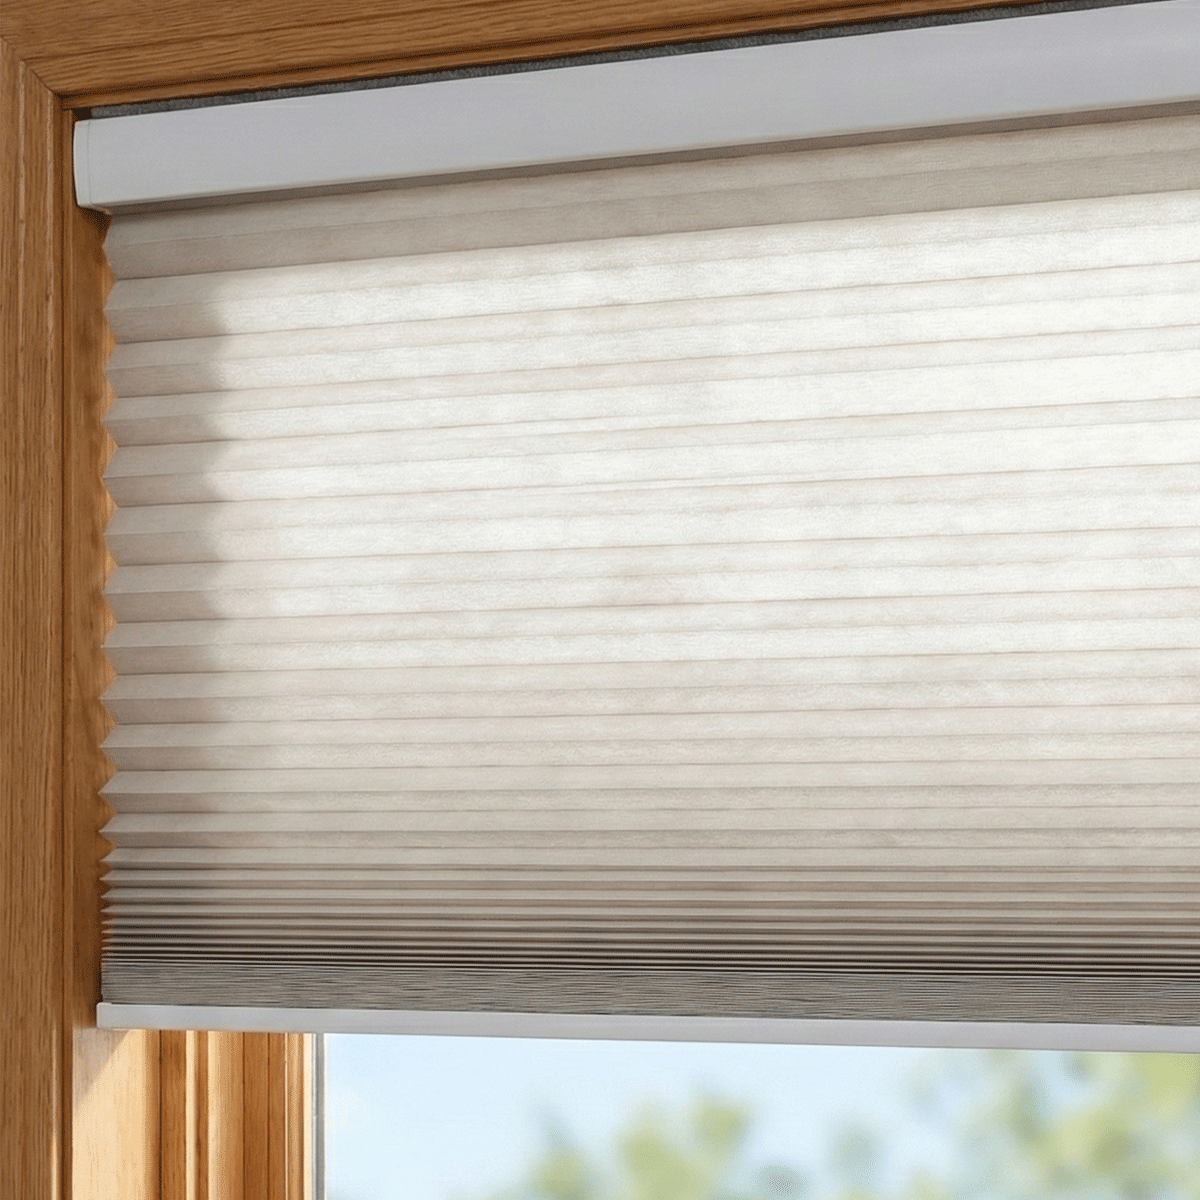
Single-barrel roller shades and cellular honeycomb shades frequently represent the easiest blinds to install. Cellular shades utilize ultra-light woven fabrics with hollow cross-sections, exerting minimal static downward pull on mounting hardware. Roller shades distribute their weight along an integrated central tube, allowing modular end-caps to slot directly into tension plates or snap brackets with minimal physical leverage.
Window frame conditions also dictate hardware suitability:
- Deep Cased Reveals: Windows with ample depth accommodate inside-mount tension bars cleanly, keeping the fabric roll tucked flush within the architectural line.
- Shallow or Frameless Drywall Returns: Narrow casing depth often cannot house a full compression headrail, making low-profile face-mount snap clips more practical than pressure bars.
- Tilt-and-Turn Sashes: Operable window leaves require hardware that clamps directly onto the window sash frame rather than the surrounding wall, ensuring the covering moves smoothly with the glass.
Spanning wider openings introduces structural deflection. When window spans become broad, headrails can experience central sag under their own mass. In such scenarios, low-fastener snap systems utilizing a center support clip provide essential reinforcement that pure tension-fit designs cannot replicate.
Integrating Smart Automation into Low-Friction Hardware
Historically, automated window treatments required hardwired low-voltage wiring, conduit rough-ins, and licensed electrical labor. The emergence of wire-free tubular motors has transformed motorized blinds into viable easy to install blinds for standard residential applications.
Motorized integration centers on internal tubular placement. A compact motor, paired with an integrated rechargeable battery cell, slides directly inside the roller tube or cassette housing. This enclosed design preserves standard external dimensions, allowing the motorized assembly to snap into identical mounting brackets used by manual shades. For a closer look at motorizing treatments and structural bracket choices, consult this blinds installation windows guide.
Commissioning smart controls mirrors the simplicity of physical mounting. Once the cassette snaps into place, pairing routines connect the motor to wireless handheld remotes, local bridges, or smart home hubs. Homeowners seeking rapid automated workflows can explore an easiest blinds install guide to understand how wireless pairing protocols streamline commissioning without specialized network configuration.
Structural and Operational Trade-Offs of Rapid-Mount Systems
While rapid-mount systems reduce initial setup effort, they introduce architectural trade-offs that homeowners should evaluate before outfitting an entire residence.
A primary consideration is lateral light leakage. Tension-fit mechanisms require side clearance for expansion pads, lever latches, and internal springs. These mechanical components push the shade fabric inward from the window jamb, widening lateral light gaps relative to custom edge-to-edge screw-anchored tracks. In bedrooms or media rooms where room darkening is prioritized, supplementary side channels may be necessary to block peripheral light.
Operational torque presents another challenge. Motorized shades generate rotational torque each time the motor initiates or halts. While mechanical screws transfer this energy directly into structural wall framing, tension-mounted headrails absorb torsional movement through frictional contact pads. Over prolonged cycles, repeated motor vibration against untextured paint can cause gradual micro-shifting if the initial compression was insufficient.
Step-by-Step Mechanical Verification and Commissioning
Ensuring dependable performance from easy installation blinds relies on systematic verification during physical placement. Following structured mechanical checks eliminates operating friction and premature hardware fatigue.
- Evaluate Casing Squareness and Surface Texture: Measure diagonal distances within the window casing to confirm the opening is reasonably square. Clean the contact surfaces of the jamb to eliminate dust, oils, or residue that could compromise tension grip pads.
- Engage the Mounting Assembly: For tension systems, position the headrail at the desired depth and activate the expansion lever or central tightening mechanism until firm resistance is met. For snap-in brackets, verify that both clips sit on a shared horizontal plane before rotating the headrail into its locked position.
- Inspect Free Movement and Clearance: Manually raise and lower the treatment to verify that the fabric edge does not rub against the jambs or internal bracket housings.
- Calibrate Motor Limits: Use the remote or control interface to program upper and lower stop positions. Proper limit calibration prevents the motor from pulling the bottom bar against the headrail, avoiding undue mechanical strain on the mounting brackets.
Share